
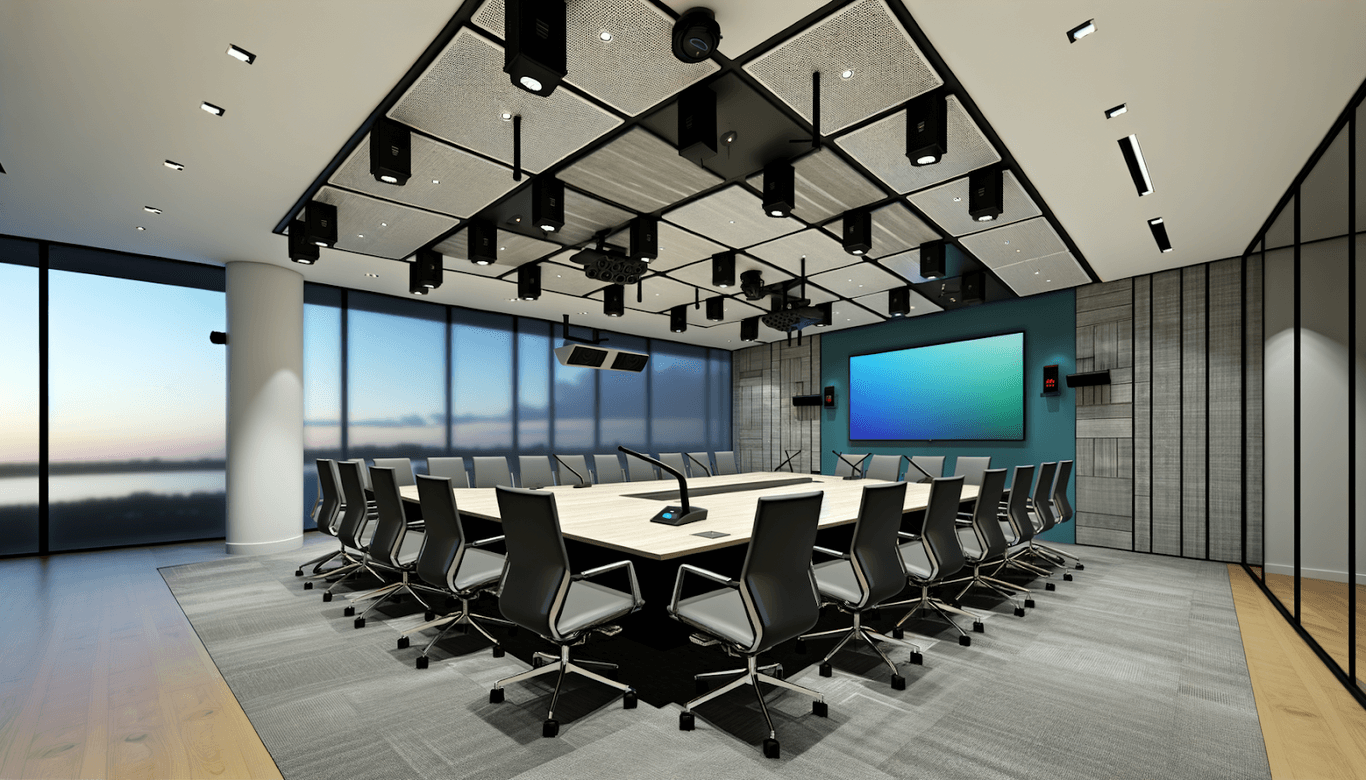
G’day! If you’ve ever been in a video conference where the sound was dodgy, you know how crucial it is to have a reliable conference room sound system. Let’s crack open this topic and explore how to fine-tune your setup for the best audio experience. Whether you’re hosting a team meeting or a client presentation, nailing the audio can make all the difference.
Understanding Your Space: The First Step to Success
The first step to optimizing your conference room sound system is understanding the space you’re working with. The room’s dimensions, its acoustic properties, and the layout play significant roles in the sound quality you can achieve.
Size and Shape Matter
It might seem obvious, but the physical size and shape of your conference room impact how sound travels. Longer rooms might need additional speakers or strategically placed microphones. Measure the room’s length, width, and height to help determine the number and types of devices you’ll need.
Tuning Acoustic Properties
Hard surfaces, like glass or concrete, can bounce sound around, creating echoes. Meanwhile, soft items such as carpets and curtains absorb sound. A good mix of both, or even adding acoustic panels, can vastly improve sound clarity.
Figuring out the Layout
The room’s layout, including furniture arrangement and potential presentation spots, influences how you set up your equipment. For instance, desk microphones work best when they can capture the speaker’s voice directly. Ensure the layout allows for optimal sound capture and distribution.
The Components That Matter
Let’s discuss the crucial bits and bobs that make up a robust conference room sound system. We’re talking about microphones, speakers, controllers, and more. The right combination leads to crystal-clear sound, essential for effective video conferencing.
Microphones: Your Sound Capturers
Choosing the right microphone is key. Different types serve different purposes:
- Wired Microphones: Perfect for fixed positions, they’re reliable but limit mobility.
- Wireless Microphones: Ideal for those who need to move around while presenting.
- Desktop Microphones: Spot-on for capturing sound from multiple participants at a table.
- Ceiling Microphones: Great for larger rooms where broader coverage is needed.
Speakers: Making Sure Everyone Hears
Once the sound is captured, it needs to be heard. Speakers come in all shapes and sizes:
- Ceiling-Mounted Speakers: Help distribute sound uniformly across the room.
- Wall-Mounted Speakers: Handy when ceiling space is limited.
- Portable Wireless Speakers: Offer the flexibility to adapt the setup as needed.
The Controller
This nifty device manages the volume, sound effects, and various audio parameters with ease. It’s a must-have for a user-friendly experience, ensuring seamless control over the sound setup.
Power Amplifier: The Unsung Hero
The amplifier boosts the signal so that everyone can hear clearly without distortion. Make sure it’s powerful enough to cover your room size.
Audio Mixer and Processor
The mixer lets you adjust settings like volume and equalization, while the processor helps eliminate background noise and echo, improving sound quality considerably.
Installing and Fine-Tuning Your System
Once you’ve got the gear, it’s time to set it up. Placement and connections are vital to achieving optimal performance.
Microphone Placement
- Ensure desk microphones are about 6–8 inches away from speakers.
- Ceiling microphones should be positioned to cover larger areas effectively.
- For wireless mics, ensure batteries are charged and there’s a clear line to the receiver.
Speaker Placement for Even Sound Distribution
- Avoid placing speakers in corners where sound might bounce excessively.
- Position them to ensure everyone hears the conversation equally well.
Connecting It All
Link your equipment through the controller and amplifier, ensuring everything’s compatible. This hookup determines the system’s performance—so double-check all connections!
Testing and Ongoing Maintenance
Setting up is just the start. Regular testing and maintenance ensure your sound system runs smoothly over time.
Sound Checks and Calibrations
Conduct thorough sound checks with multiple participants to iron out any wrinkles. Address feedback, echo, or distortion promptly to keep your system in tip-top shape.
Regular Maintenance
Schedule routine checks to update software, clean equipment, and conduct sound tests. Timely maintenance avoids disruptions and prolongs the system’s lifespan.
Maximizing Your Conference Room’s Potential
A well-tuned sound system is only one part of a productive conference room. Consider additional tools and treatments to enhance your meetings further.
Integrate a Video Conferencing System
Top-quality video conferencing tools with screen sharing and recording capabilities can significantly boost collaboration.
Consider Acoustic Treatments
Besides acoustic panels, sound-absorbing materials reduce echoes, offering a smoother sound experience.
Embrace Paperless Meeting Solutions
Adopt tools that allow digital document sharing and real-time updates for a more efficient workflow.
Add Interactive Displays or Video Walls
For large or interactive presentations, consider screens that support engaging and dynamic content delivery.
Liven Up with Wireless Presentation Tools
No more fumbling with cables—wireless tools enable audio-visual flexibility and smoother transitions.
Invest in Quality for Long-Term Gains
Invest in high-quality equipment—it’s worth it in the long run. Cheap gear often leads to poor sound quality and needs frequent repairs or replacements.
Optimising your conference room sound system requires careful planning and execution. Consider the room’s specifics, choose the right equipment, and regularly maintain your setup. With these tips, your video conferencing experience will be top-notch, fostering clear communication and efficient meetings every time!