Introduction
G’day mates and sheilas! Organising an event, training, or conference can be a bit of a challenge, especially when it comes to tech. There’s nothing worse than those last-minute tech hiccups that throw a spanner in the works. But no worries—I’ve got a ripper guide for you on nailing your software equipment setup to make sure everything goes smoothly. Whether you’re prepping for a virtual conference or setting up a training session, this guide will walk you through the essential checklists for success.
Why Is Software Equipment Setup Important?
If you’re planning an event or training session, nothing’s more crucial than a flawless run from start to finish. From smooth registrations to seamless presentations, the backbone of your event lies in a well-prepared software setup. By sorting out the tech in advance, you can wave goodbye to last-minute stress and focus on delivering top-notch content to your audience.
Essential Software Setup Checklist
1. Registration Tools
Start by setting up a reliable platform for registrations. Tools like Eventbrite or bespoke registration systems ensure you can efficiently manage attendee data. Double-check that everything is working as intended, from forms to payment gateways, to avoid any nasty surprises.
2. Presentation Platforms
For smooth presentations, software like PowerPoint or Google Slides is a great choice. Test your slides on the device and ensure animations, embedded videos, and links are all functioning perfectly. A backup plan, like saving presentations as PDFs, is also a smart move.
3. Streaming and Conferencing Software
Choosing the right platform, whether it’s Zoom, Microsoft Teams, or something similar, is critical. Make sure you’re familiar with all the features, such as screen sharing and breakout rooms. Conduct a test call to confirm audio and video are spot-on.
4. Audio and Video Equipment
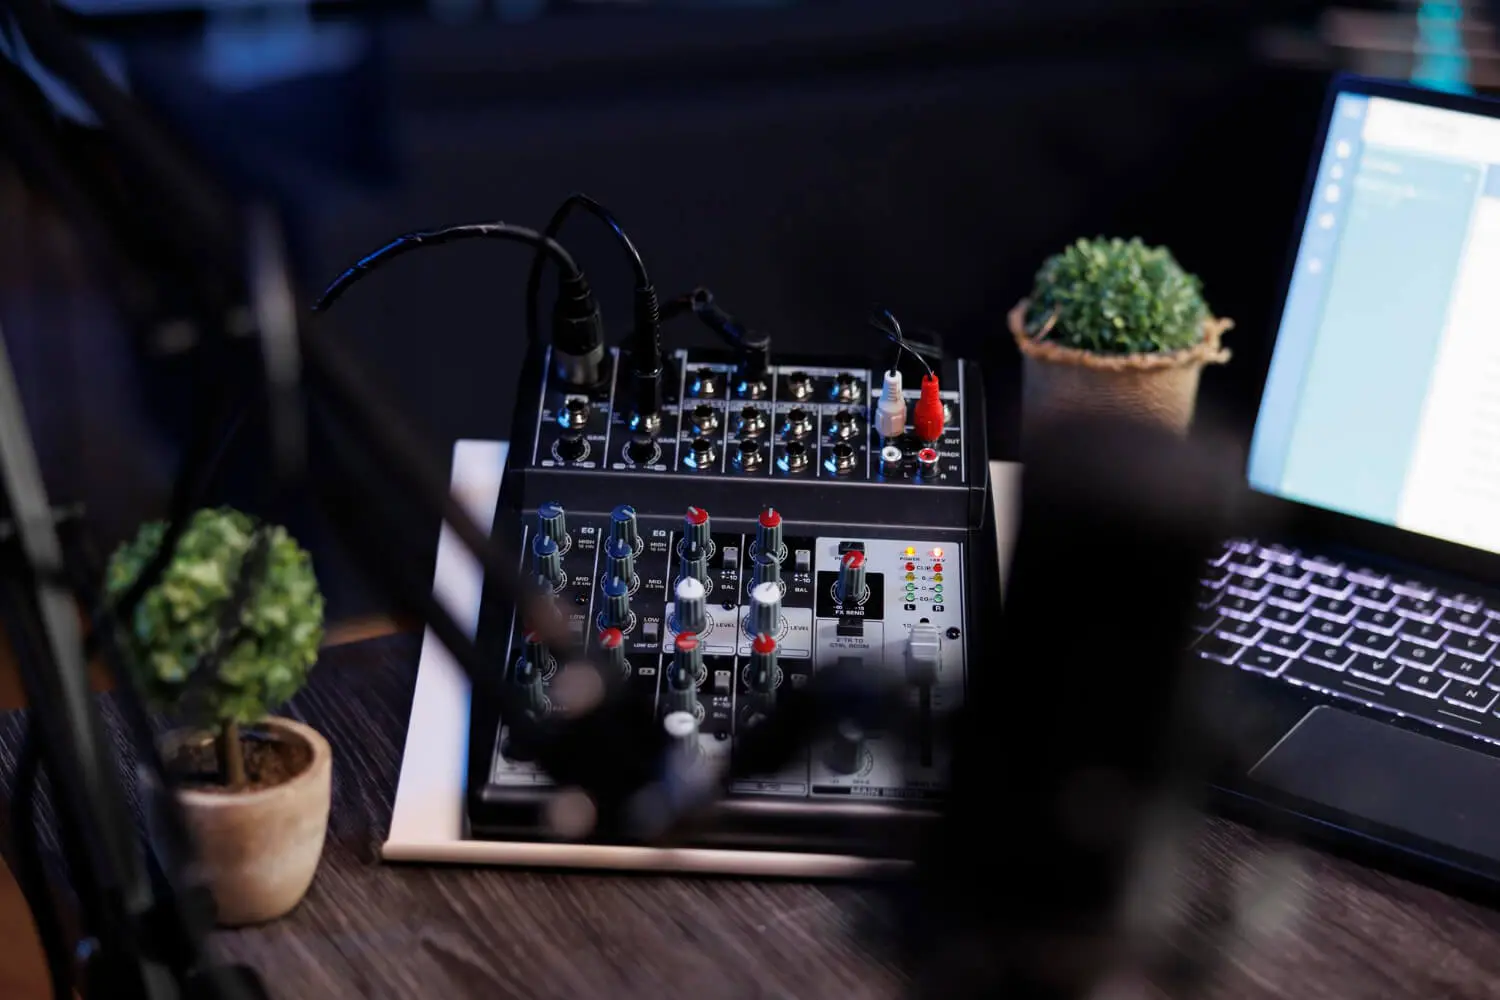
- Test your microphones and ensure volume levels are set properly. You’ll want crisp audio, so a quality USB microphone is a solid investment.
- Check your webcam settings. A camera that streams at 1080p is ideal. If you’re uncertain, use it on a test session to verify clarity and positioning.
Advanced Preparation Strategies
Tech Rehearsals
Run a full dress rehearsal with all tech components active. Invite someone to act as an attendee to provide feedback on the stream, audio, and visuals. This not only sharpens your setup but also boosts your confidence.
Backup Systems
No plan is foolproof, so have backups ready. This might mean a secondary internet connection or an alternative streaming device. Think it through and anticipate the worst-case scenarios to stay one step ahead.
Data Security
Ensure your system is secured and that all sensitive data is protected. Regular updates, strong passwords, and using encryption tools will keep your attendees’ information safe.
Networking and Internet Connections
Stable Internet is Key
Your event’s success hinges on a dependable internet connection. Wherever possible, opt for a wired Ethernet setup. If you’re relying on Wi-Fi, ensure your router is beefed up to handle the load, and test your bandwidth well ahead of time to prevent dropping out mid-session.
Post-Event Follow-Up
Gather Feedback
After the event, engage with your attendees for feedback. Send out surveys that assess the software efficacy and overall experience. This can provide invaluable insights for future events.
Review and Reflect
Take time to review what went well and what could be improved. Document any tech issues that arose and their solutions. These notes will come in handy for your next setup.
Conclusion
By being meticulous in your software equipment setup, you’re setting your event up for success. Preparation is the name of the game—really getting to grips with the tools and platforms will save you from unnecessary headaches. Don’t wait until the eleventh hour, because as the saying goes: an ounce of prevention is worth a pound of cure. Prepare efficiently, troubleshoot early, and your event will go off without a hitch, leaving a lasting impression on your audience. Cheers and good luck with your event!

